AWS Serverless Application Catalog Workshop > Create the CI/CD Pipeline > Multi-Environment Pipeline Setup
Multi-Environment Pipeline Setup
Open your AWS CodePipeline console.
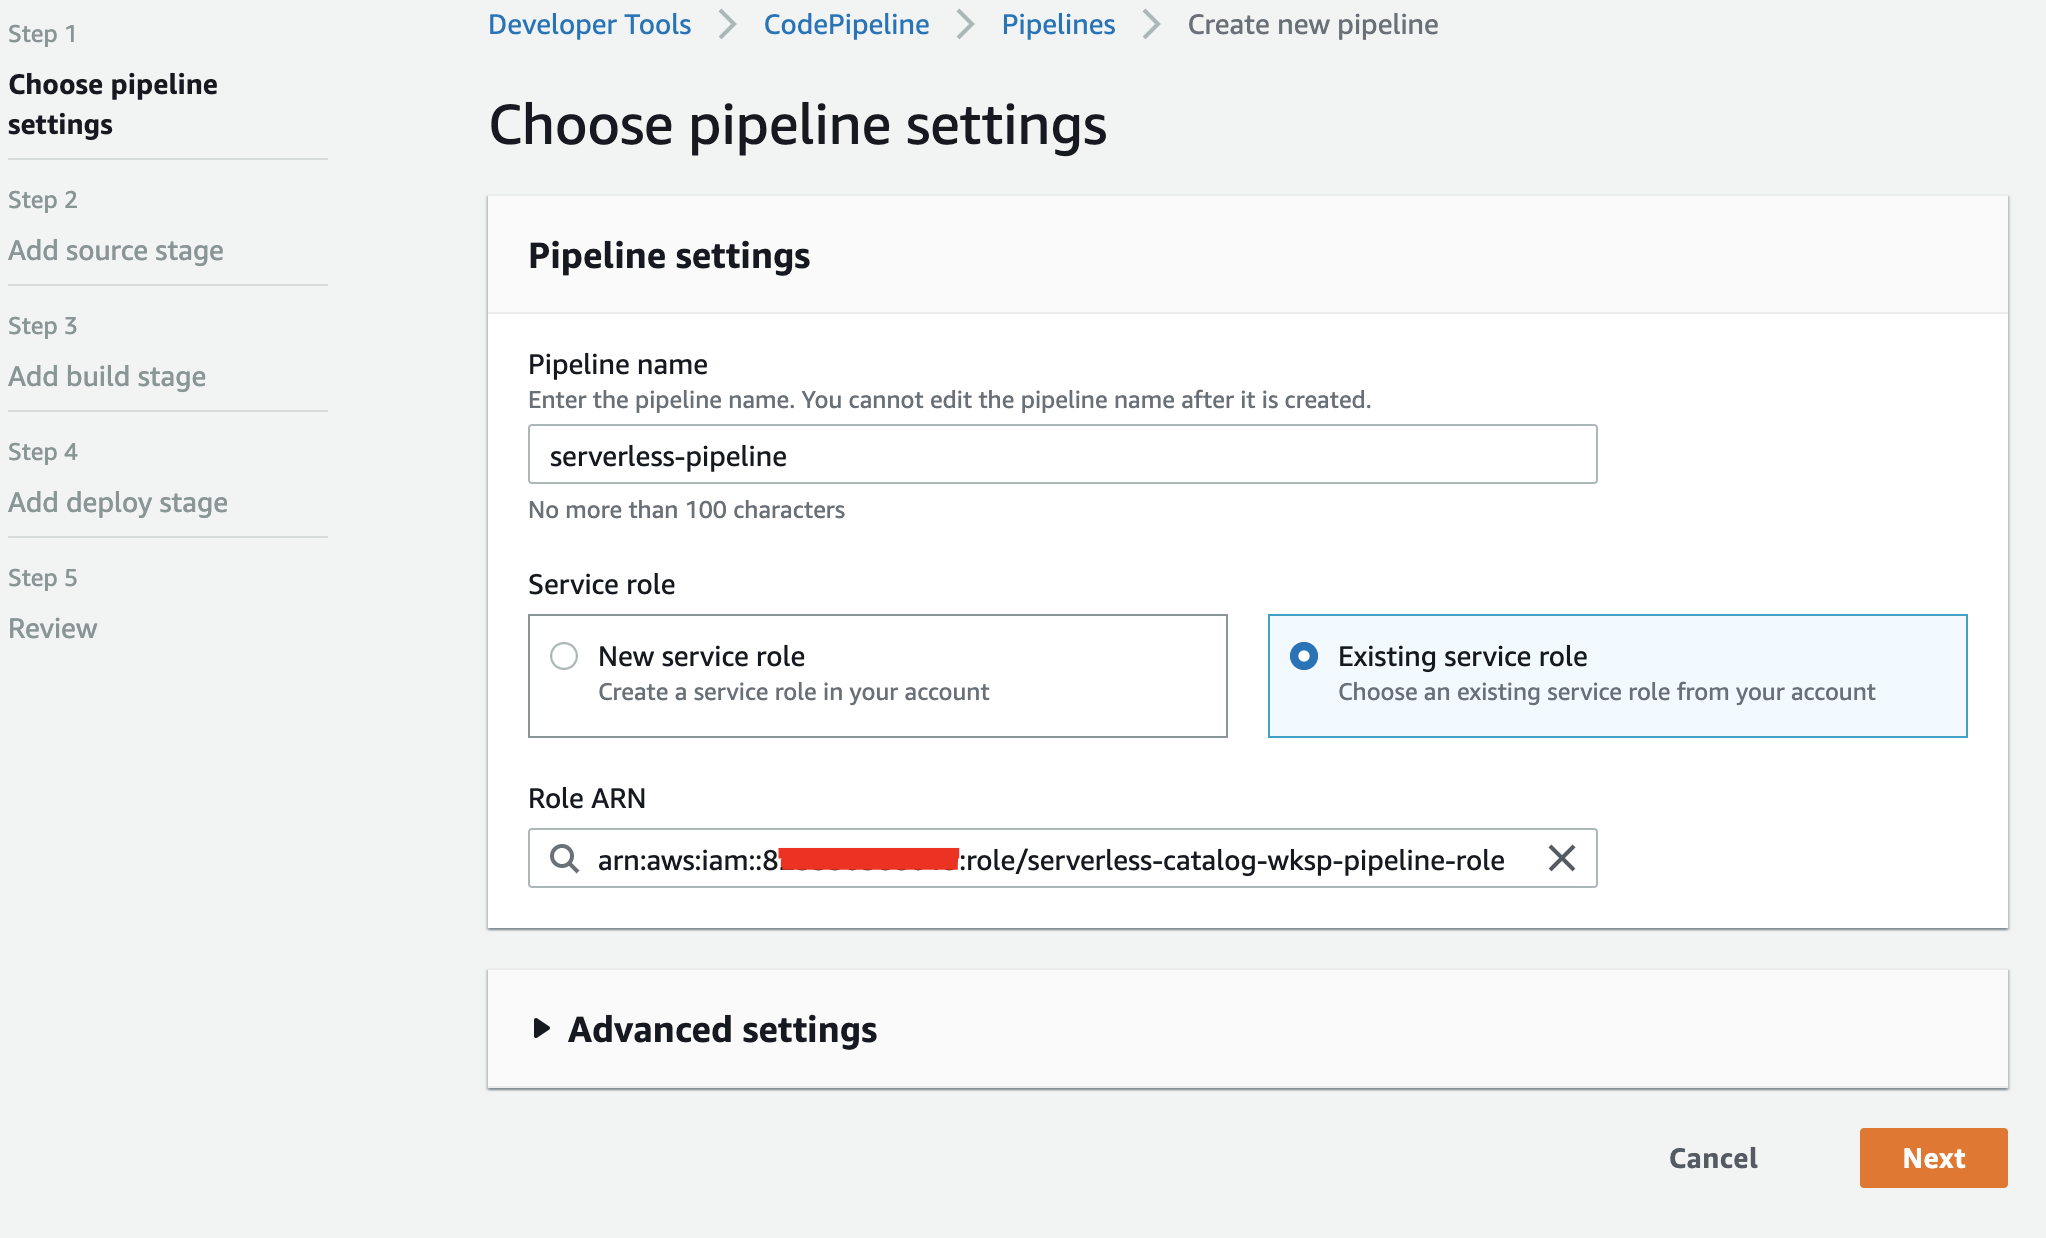
- Click Create pipeline
- Name it serverless-pipeline
- Select Existing service role
- Browse for serverless-catalog-wksp-pipeline-role, click Next
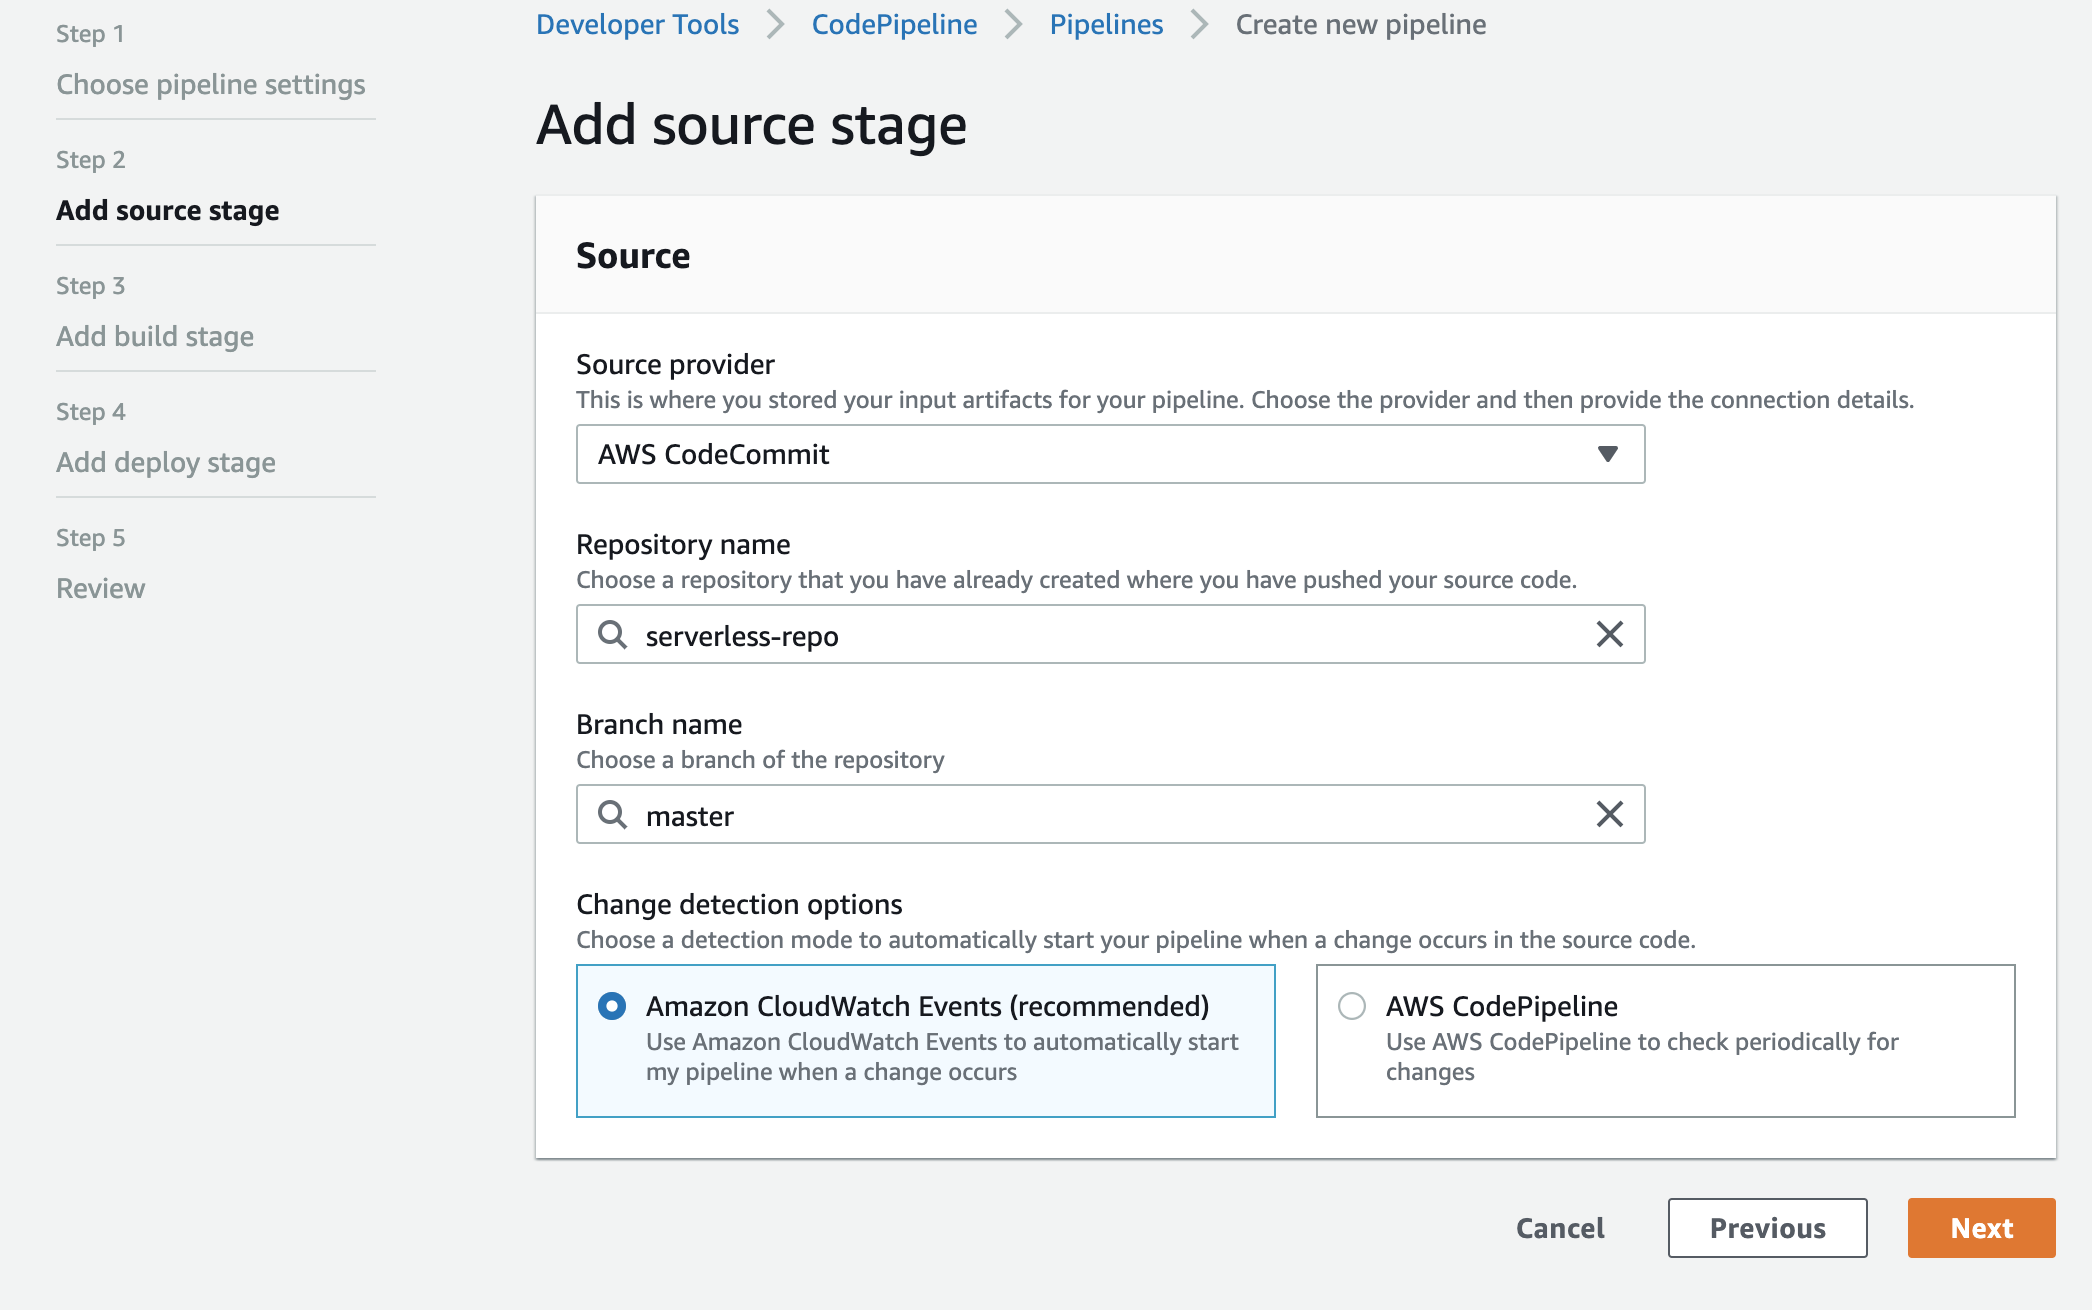
- Select AWS CodeCommit as Source provider
- Select serverless-repo as Repository name
- Select master as Branch name
- Leave the last option as default and click Next
- Select AWS CodeBuild as Build provider
- Select your current region
- Click Create project to configure your CodeBuild project. A pop-up will open.
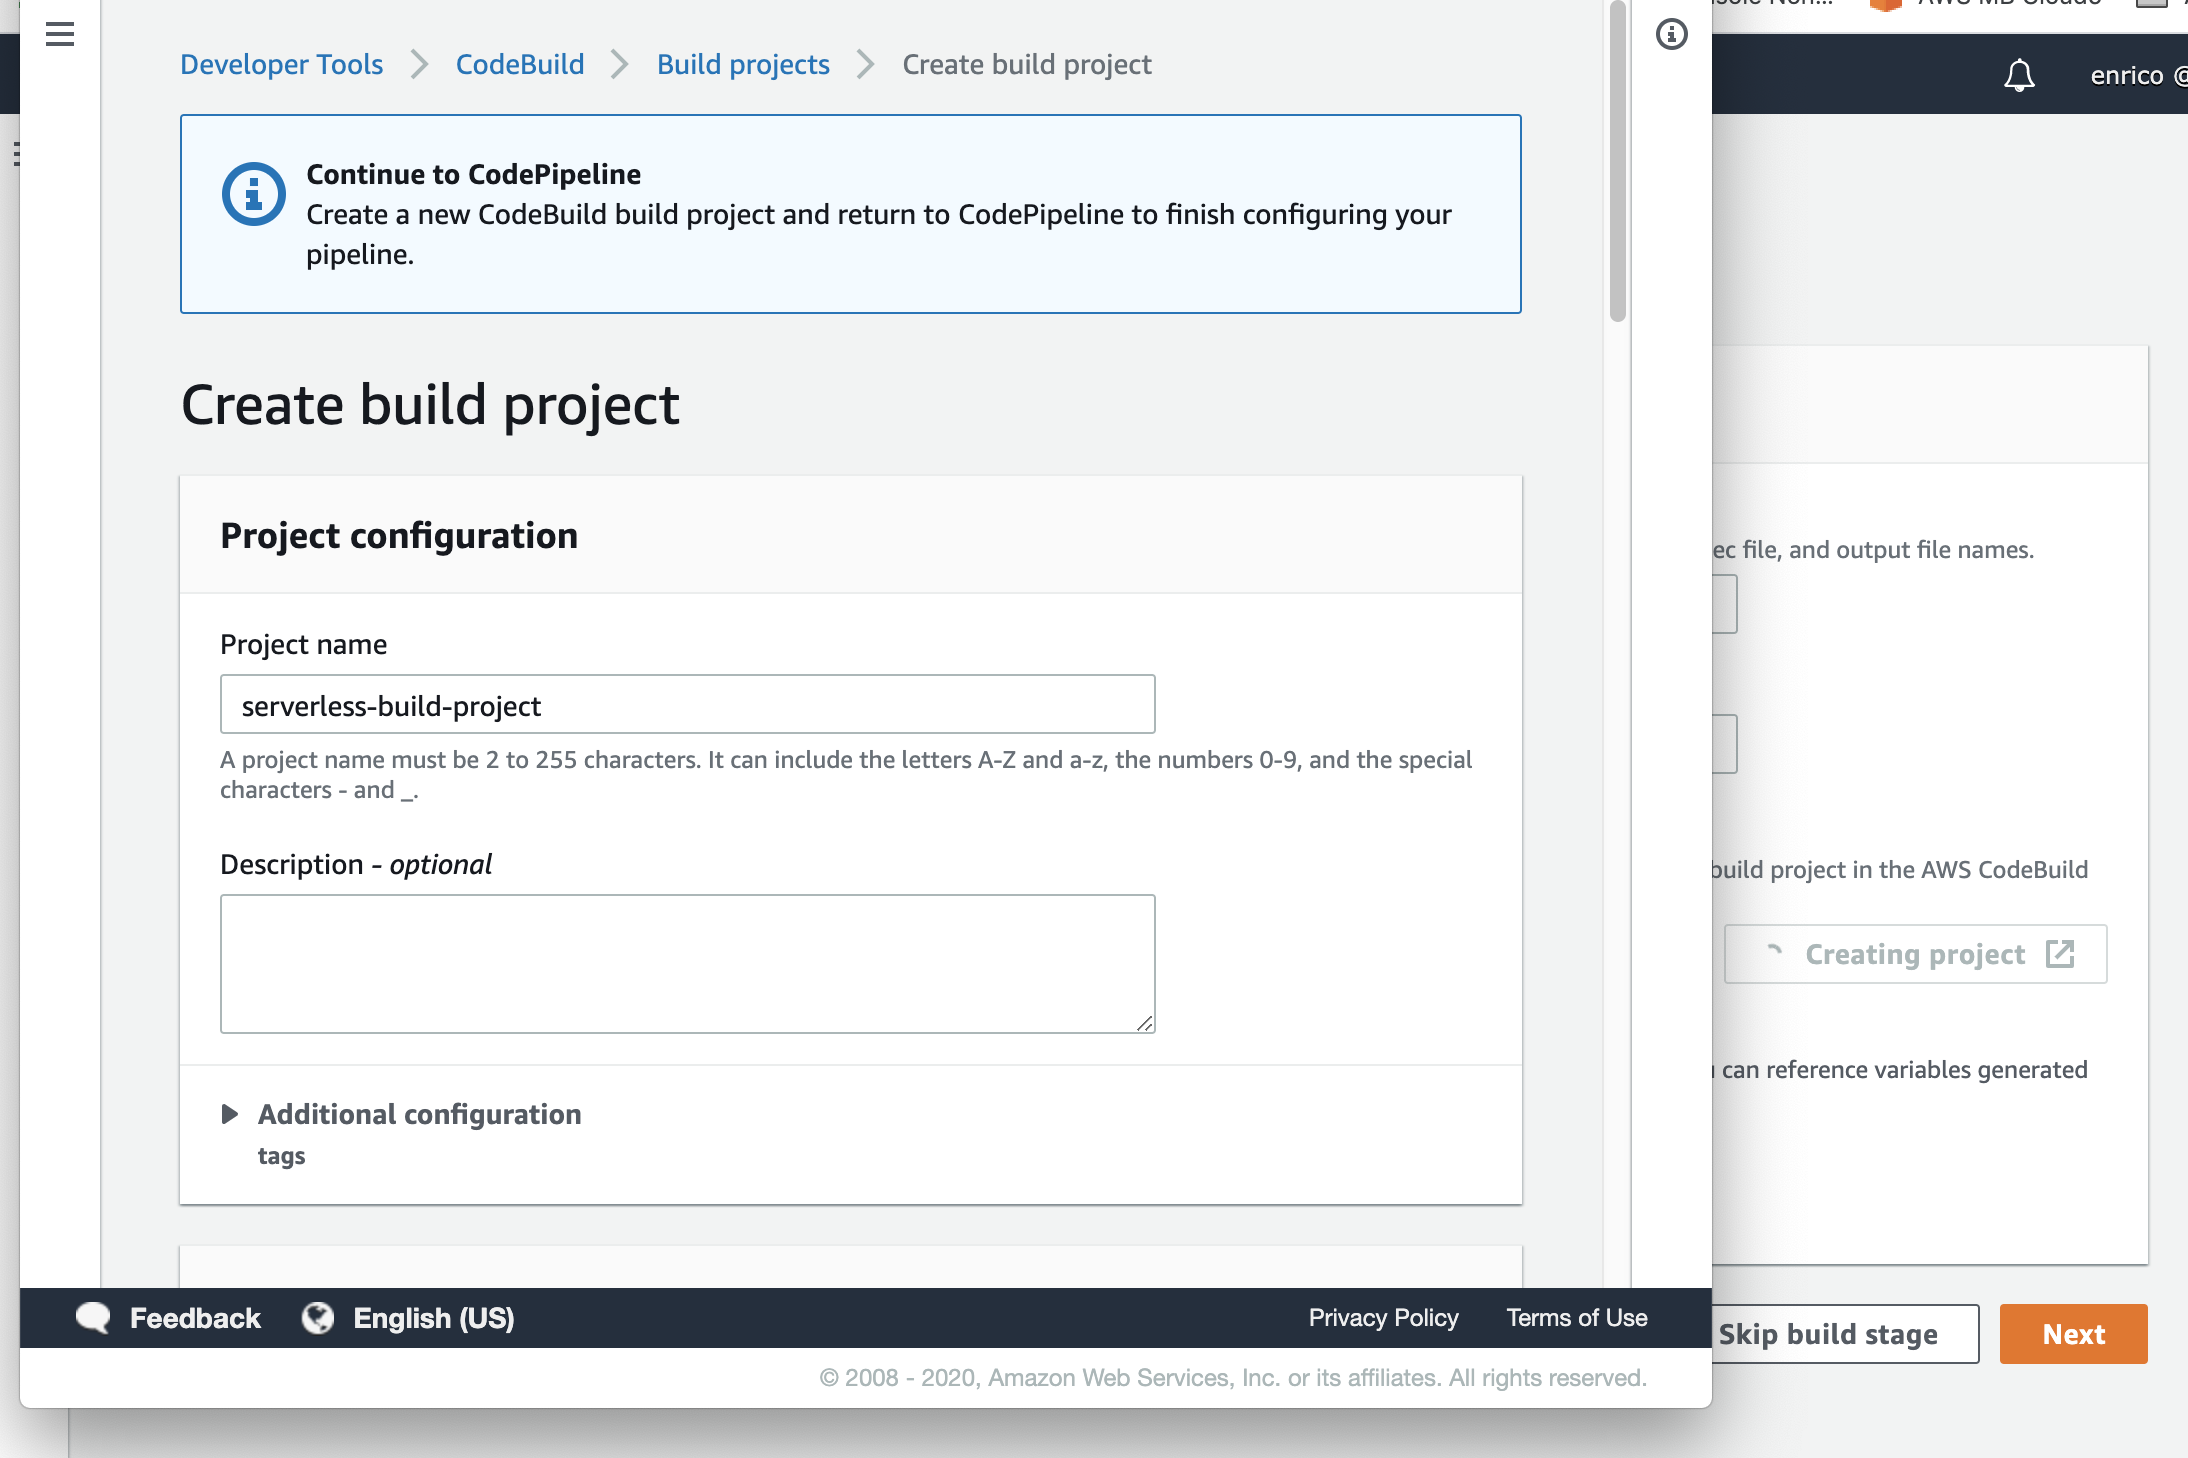
- Name it serverless-build-project
- In the Environment section select Managed image as Environment image
- Select Amazon Linux 2 as Operating system
- Select Standard as Runtime(s)
- Select aws/codebuild/amazonlinux2-x86-64-standard:2.0 as Image
- For Service role, choose Existing service role
- Browse for serverless-catalog-wksp-build-role under Role ARN
- Uncheck the Allow AWS CodeBuild to modify this service role so it can be used with this build project box
- Expand the arrow for Additional configuration
- On Environment variables set Name as BUILD_OUTPUT_BUCKET and Value as aws-serverless-catalog-wksp-build-
<FIRSTNAME-LASTNAME>created in the previous step (without the s3://) - Leave all other settings as default, click Continue to CodePipeline
- Click Next
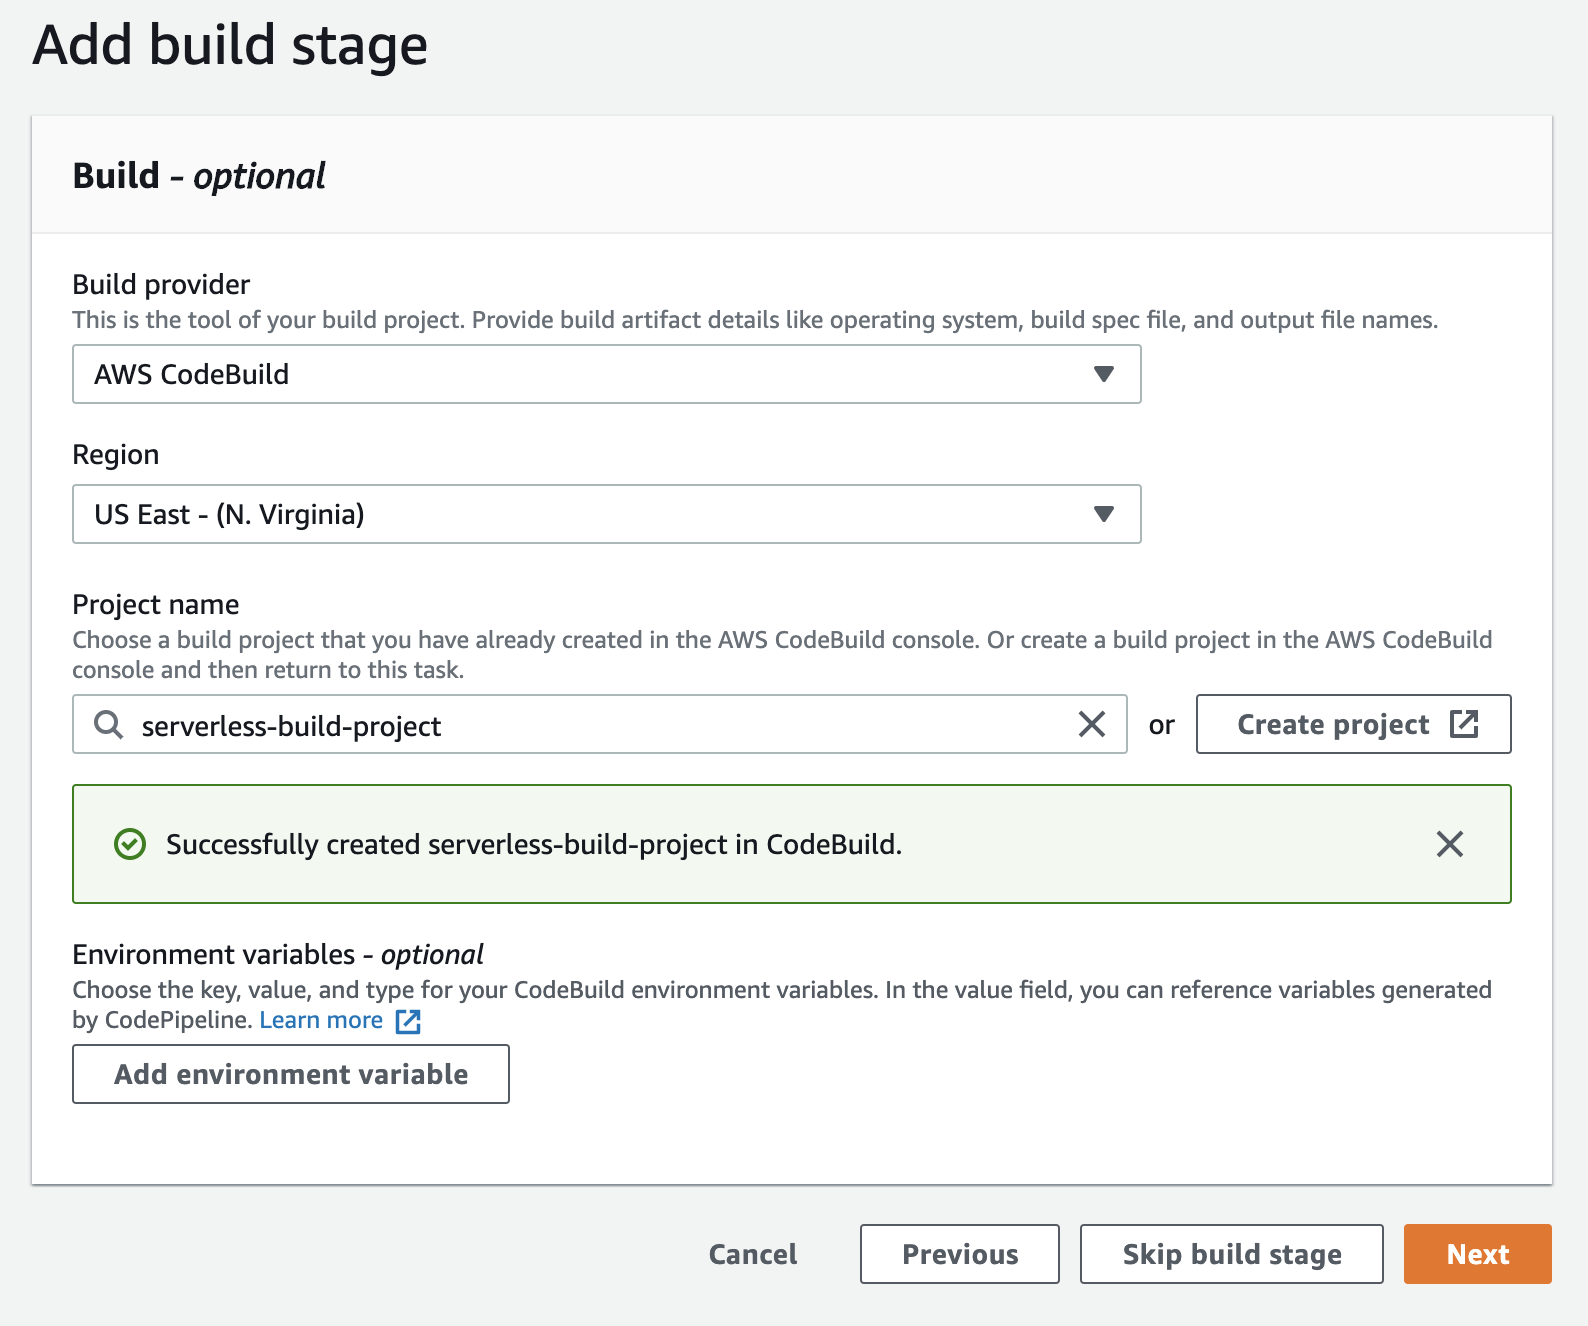
- Click Skip deploy stage
- Click Skip
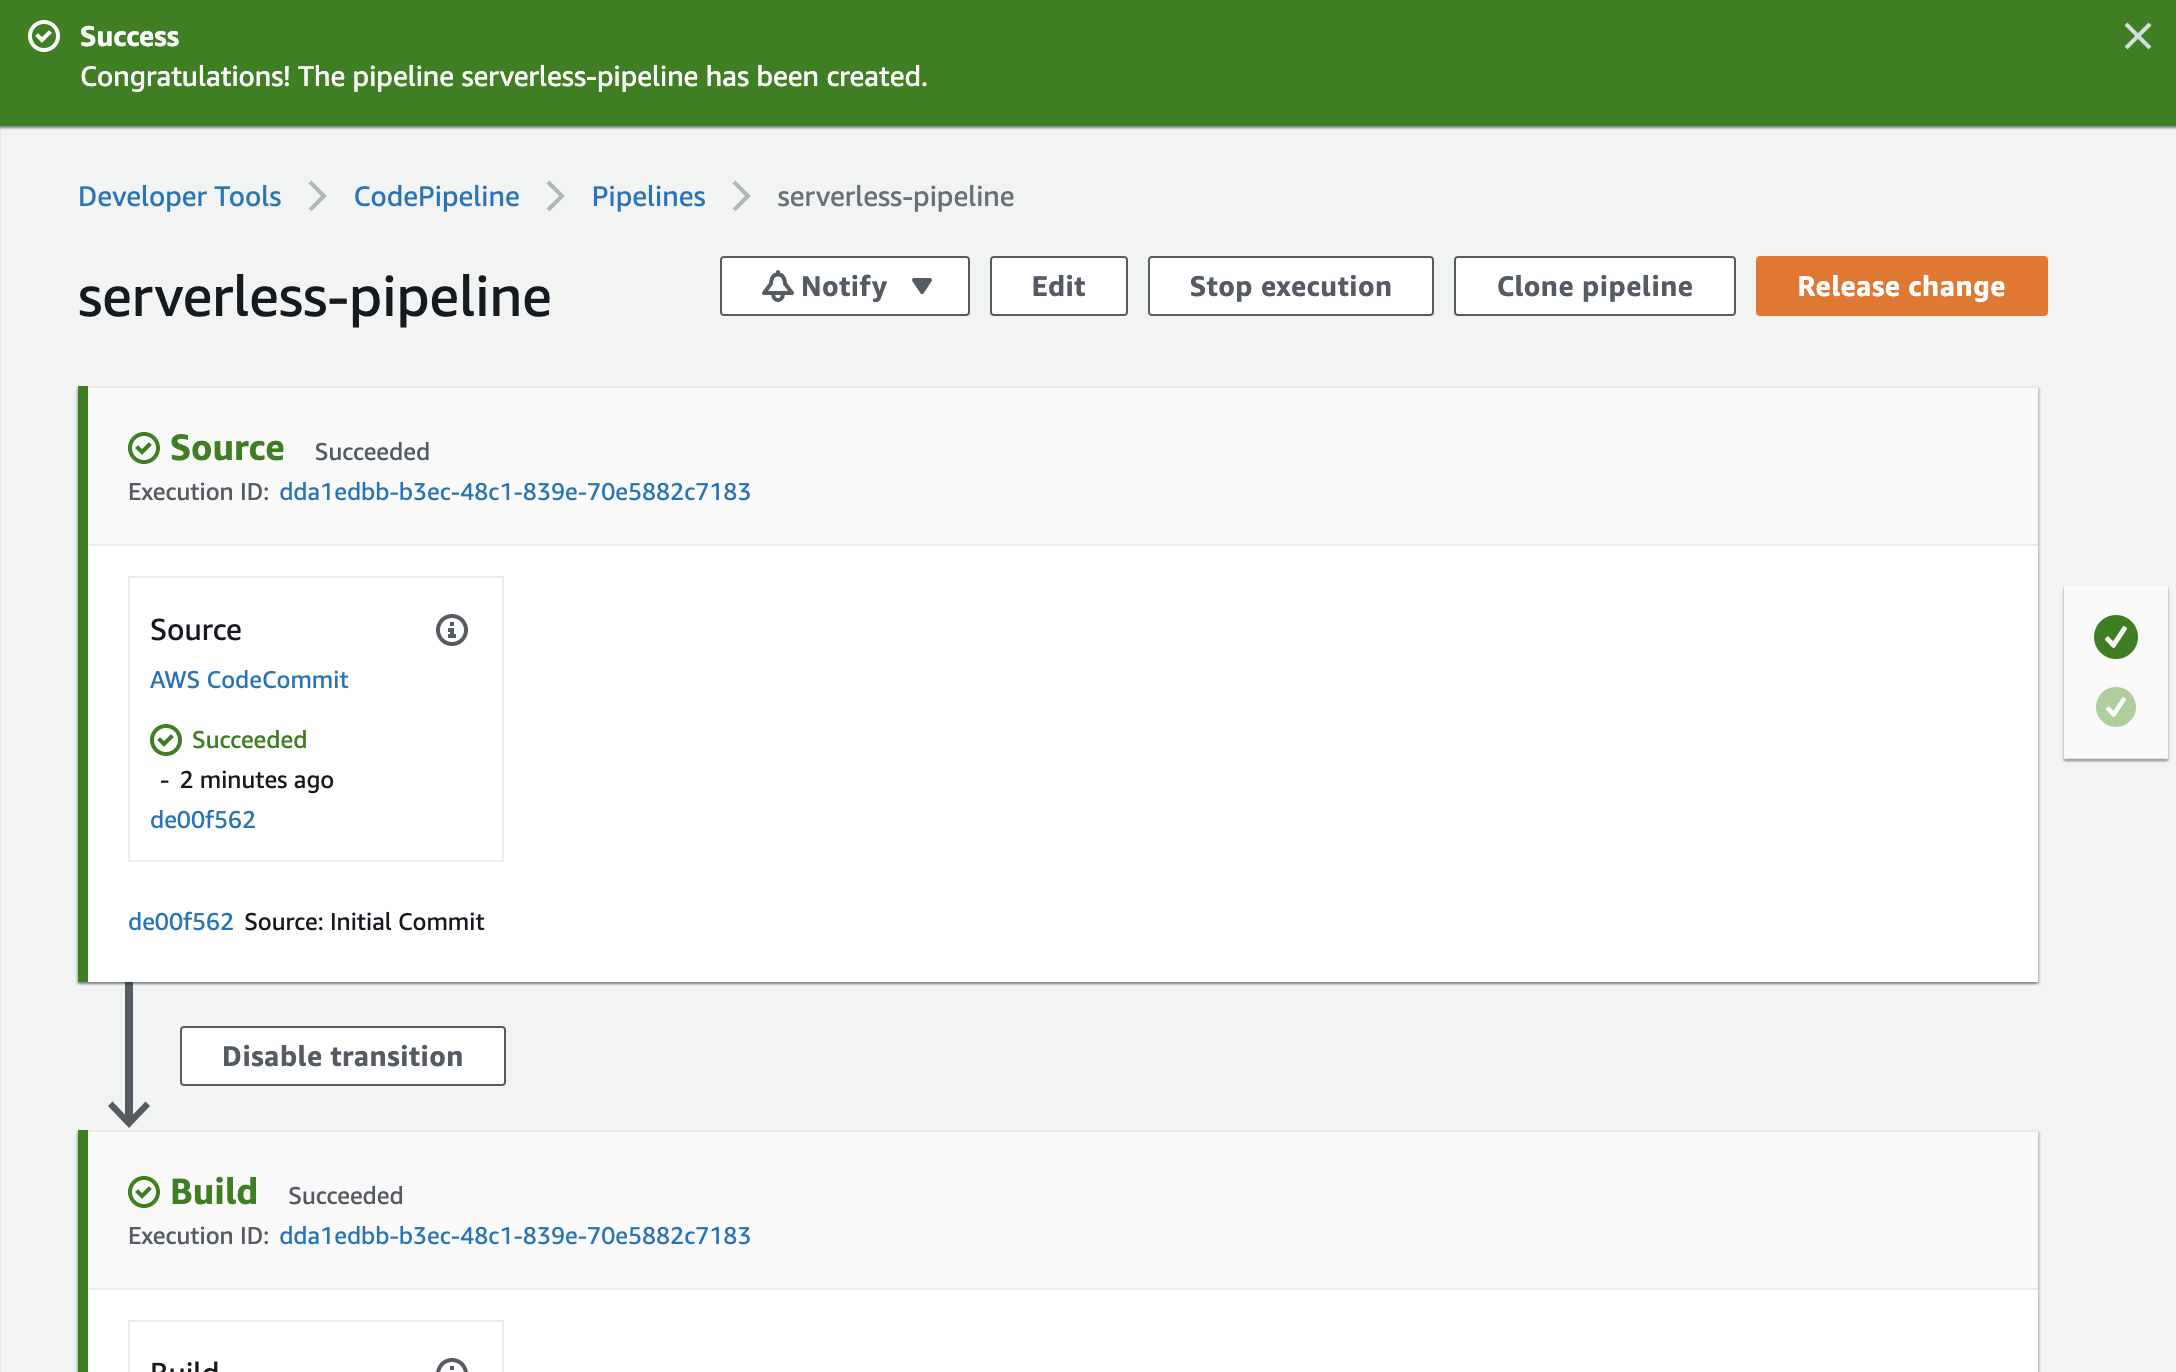
- Review your settings and click Create pipeline
Your pipeline has now been created with minimal configuration and will attempt to run for the first time. Allow it a couple of minutes to complete until we move on.