Creating a Pipeline CloudFormation Template
Download the template file
mkdir ~/environment/cf-template
cd ~/environment/cf-template
sudo curl --location -o ./template.yaml https://raw.githubusercontent.com/aws-samples/aws-serverless-application-catalog-workshop/master/template.yaml
Spare a few minutes to go through the CloudFormation template and understand how resources are being created based on the given parameters.
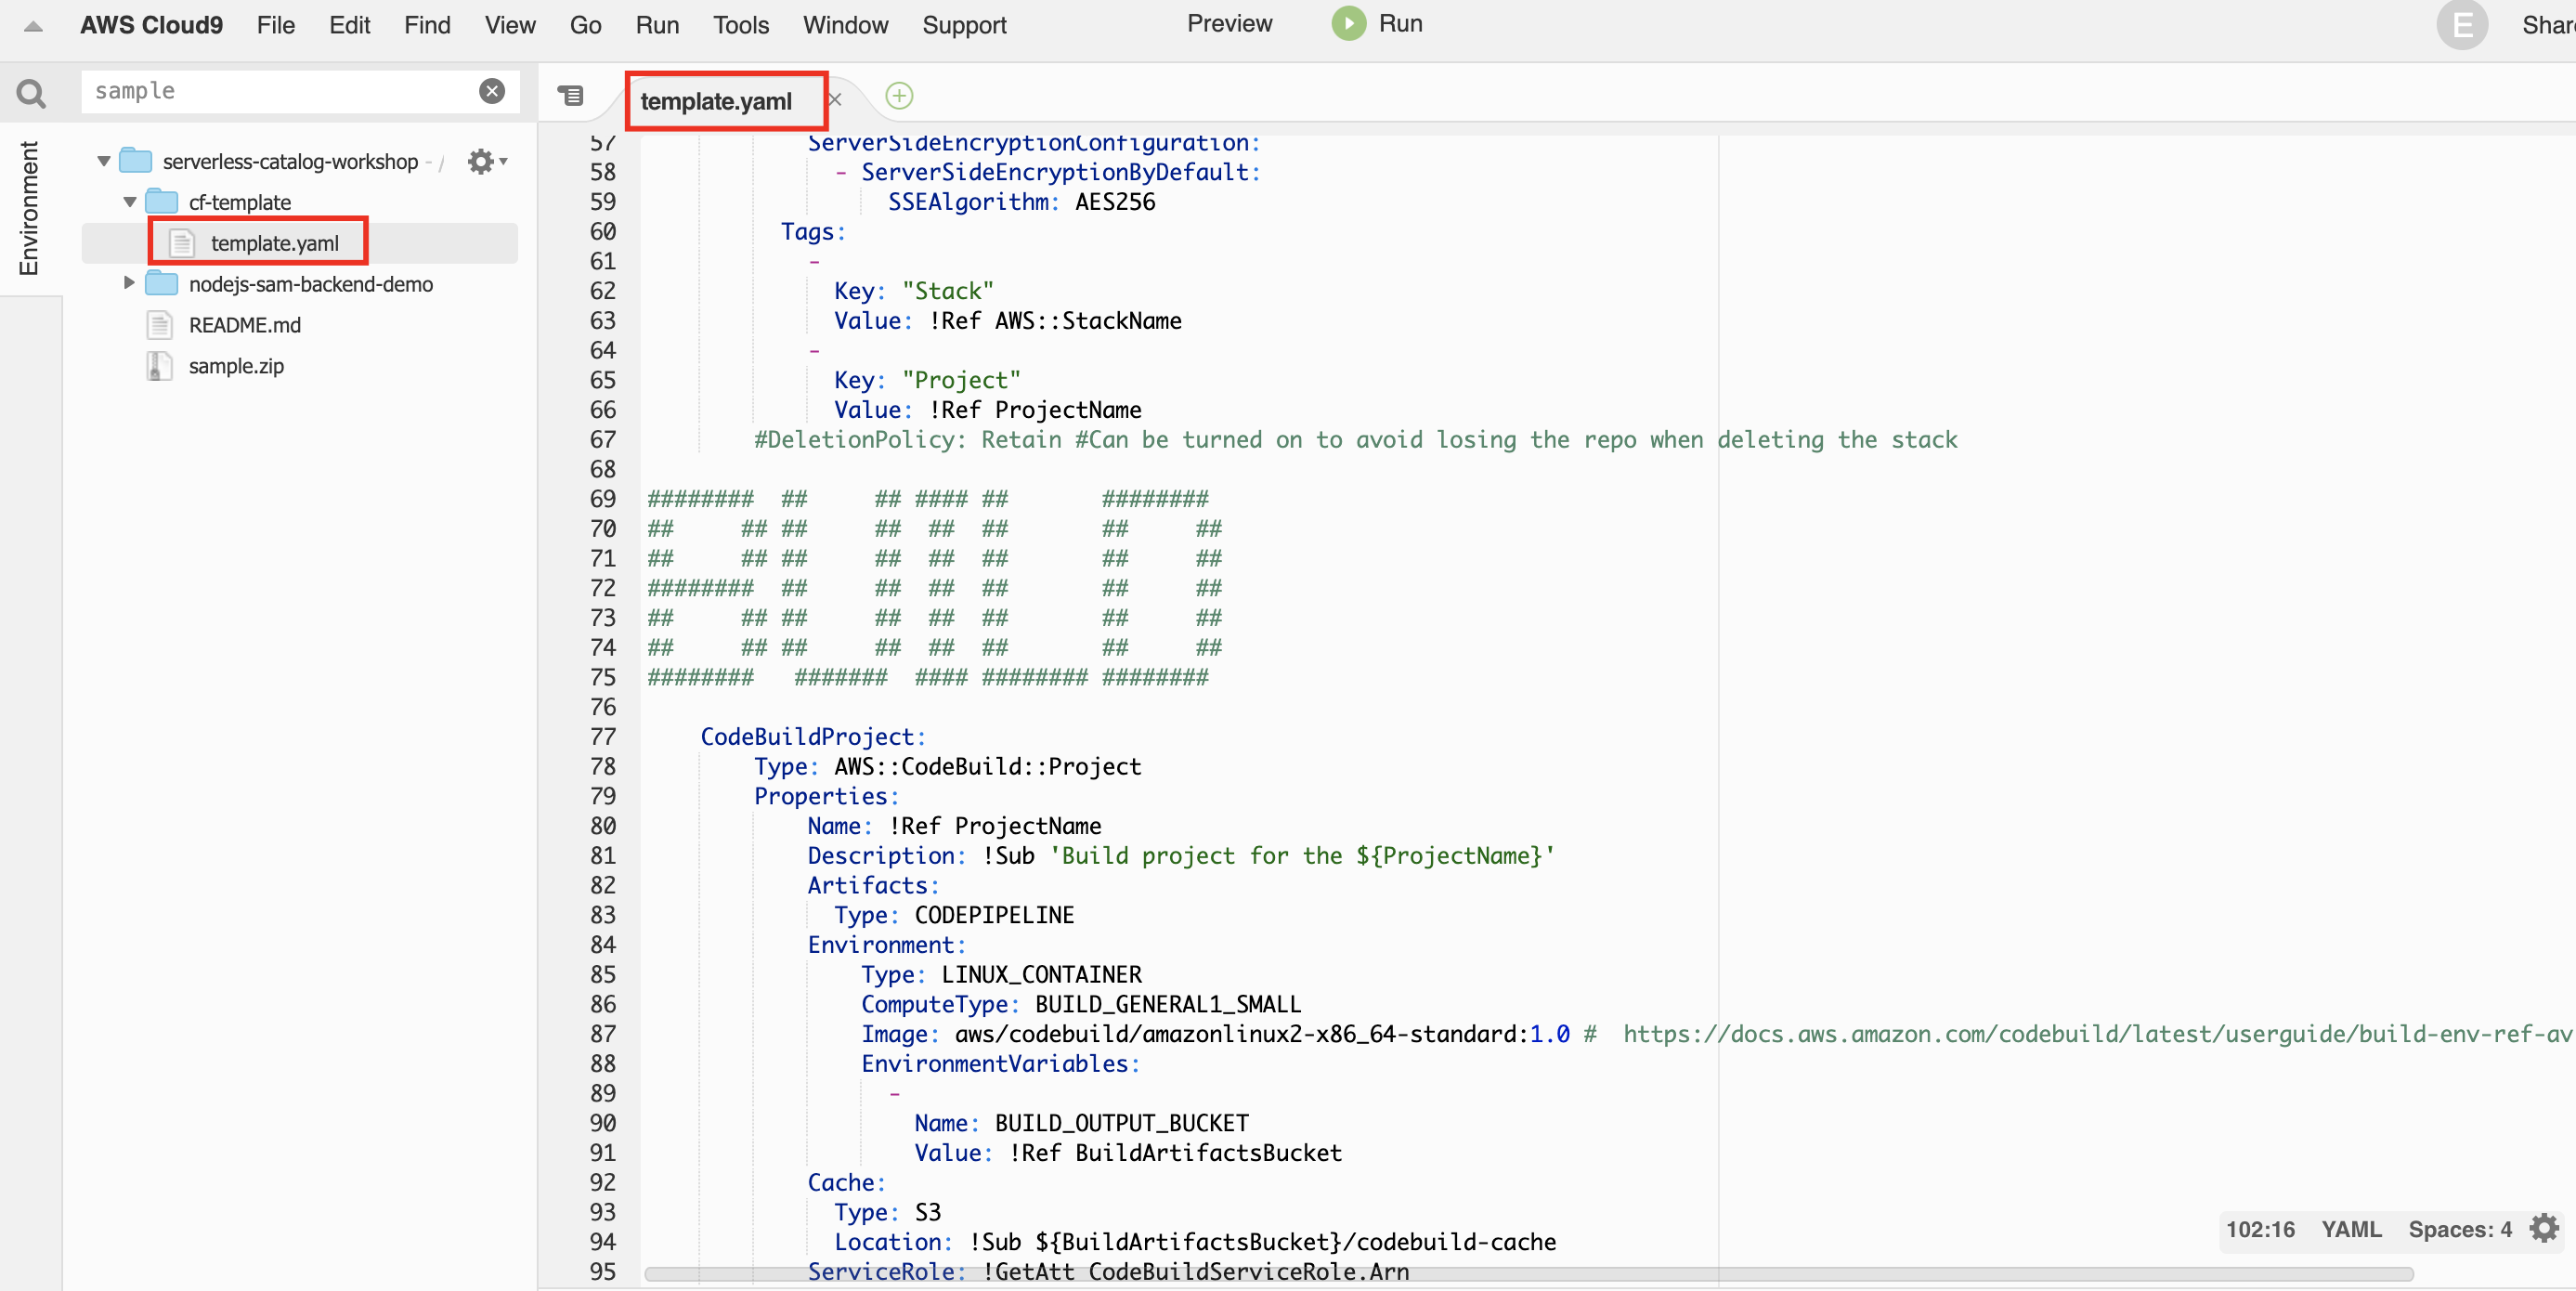
Take a look at the template.yaml file downloaded. These are the main parameters we are going to use:
| Parameter | Description |
|---|---|
| ProjectName | Project name |
| RepositoryName | CodeCommit Repository name |
| RepositoryDescription | CodeCommit Repository description |
| CodeS3Bucket | Bucket name and path where our bundled code resides e.g. |
In a nutshell, these are the resources and tasks the template will provision and execute once it’s launched in AWS Service Catalog:
- Create an AWS CodeCommit Repository.
- Create an encrypted S3 Bucket for storing our build artifacts.
- Download the sample.zip bundle we uploaded to S3 and unzip into our repository.
- Create an AWS CodePipeline to orchestate our CI/CD stages having the source stage as a commit in our
masterbranch in our repository. - Create multiple AWS CodeBuild projcts for Artifact Build, Unit Test and Static Code Analysis based on different YAML files in the workspace (
buildspec.yml,testspec.yml,style-checker.yml). - Create a Build stage in the pipeline containing an artifact build at first, and unit testing and style checking tasks in parallel after the build succeeds.
- Create a Development stage in the pipeline to deploy the resources with a -Dev namespace.
- Create a Staging stage in the pipeline to deploy the resources with a -Staging namespace and run Load Tests in our APIs using Locust.
- Create a Production stage in the pipeline to deploy the resources with a -Prod namespace with Automated Rollback using AWS CodeDeploy to allow zero-downtimes in case of deployment failures.
- Create IAM Service Roles for every required resource with the proper permissions.
If your company requires, AWS CodePipeline allows you to add Manual Approval steps between the promotion of each environment although you can achieve higher levels of safe deployments when you adopt a Blue/Green or Canary deployments.
Upload your Template to S3
Upload your template to the same bucket you created in the previous step.
cd ~/environment/cf-template
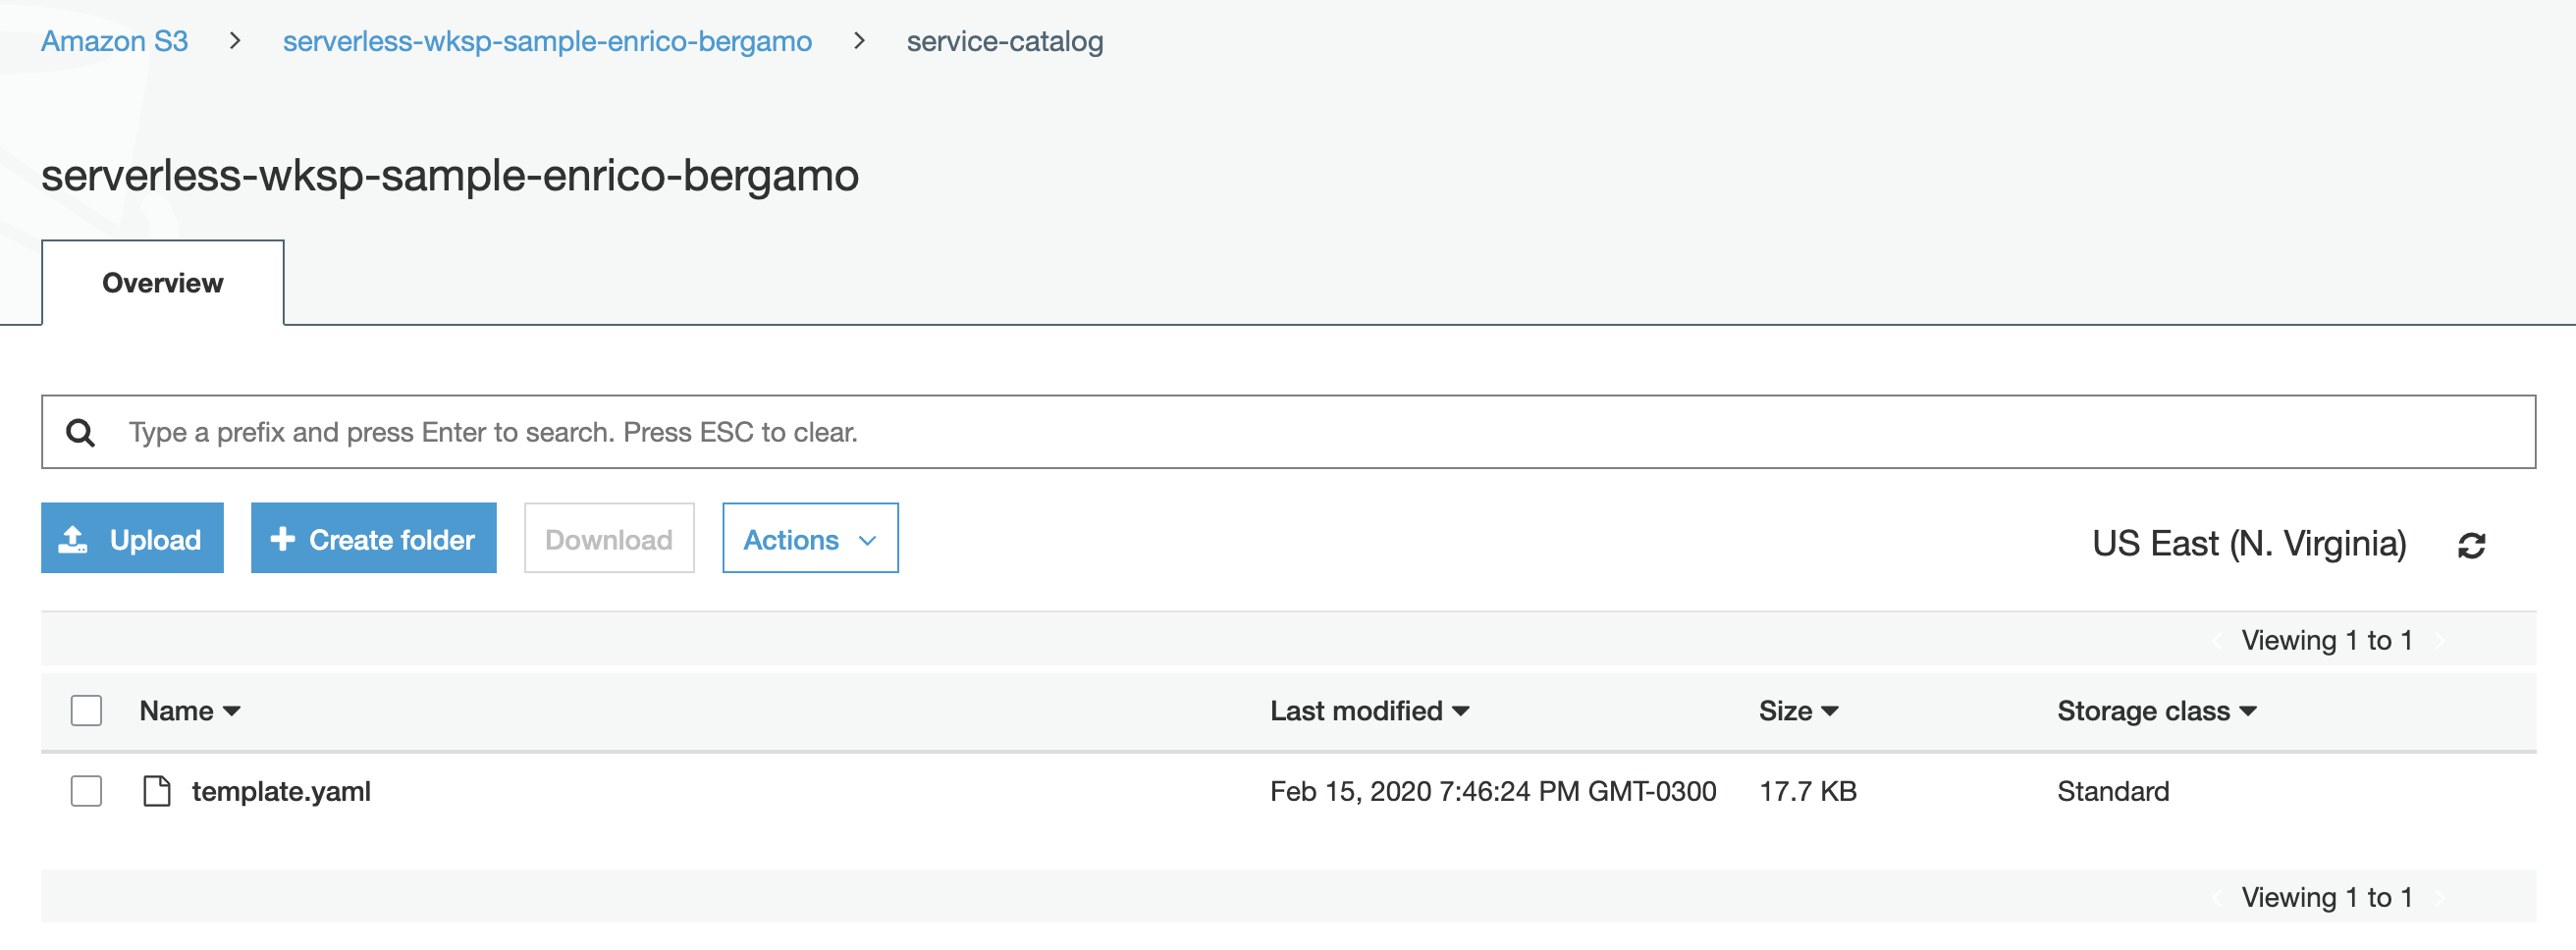
aws s3 cp template.yaml s3://serverless-wksp-sample-<FIRSTNAME-LASTNAME>/service-catalog/template.yaml
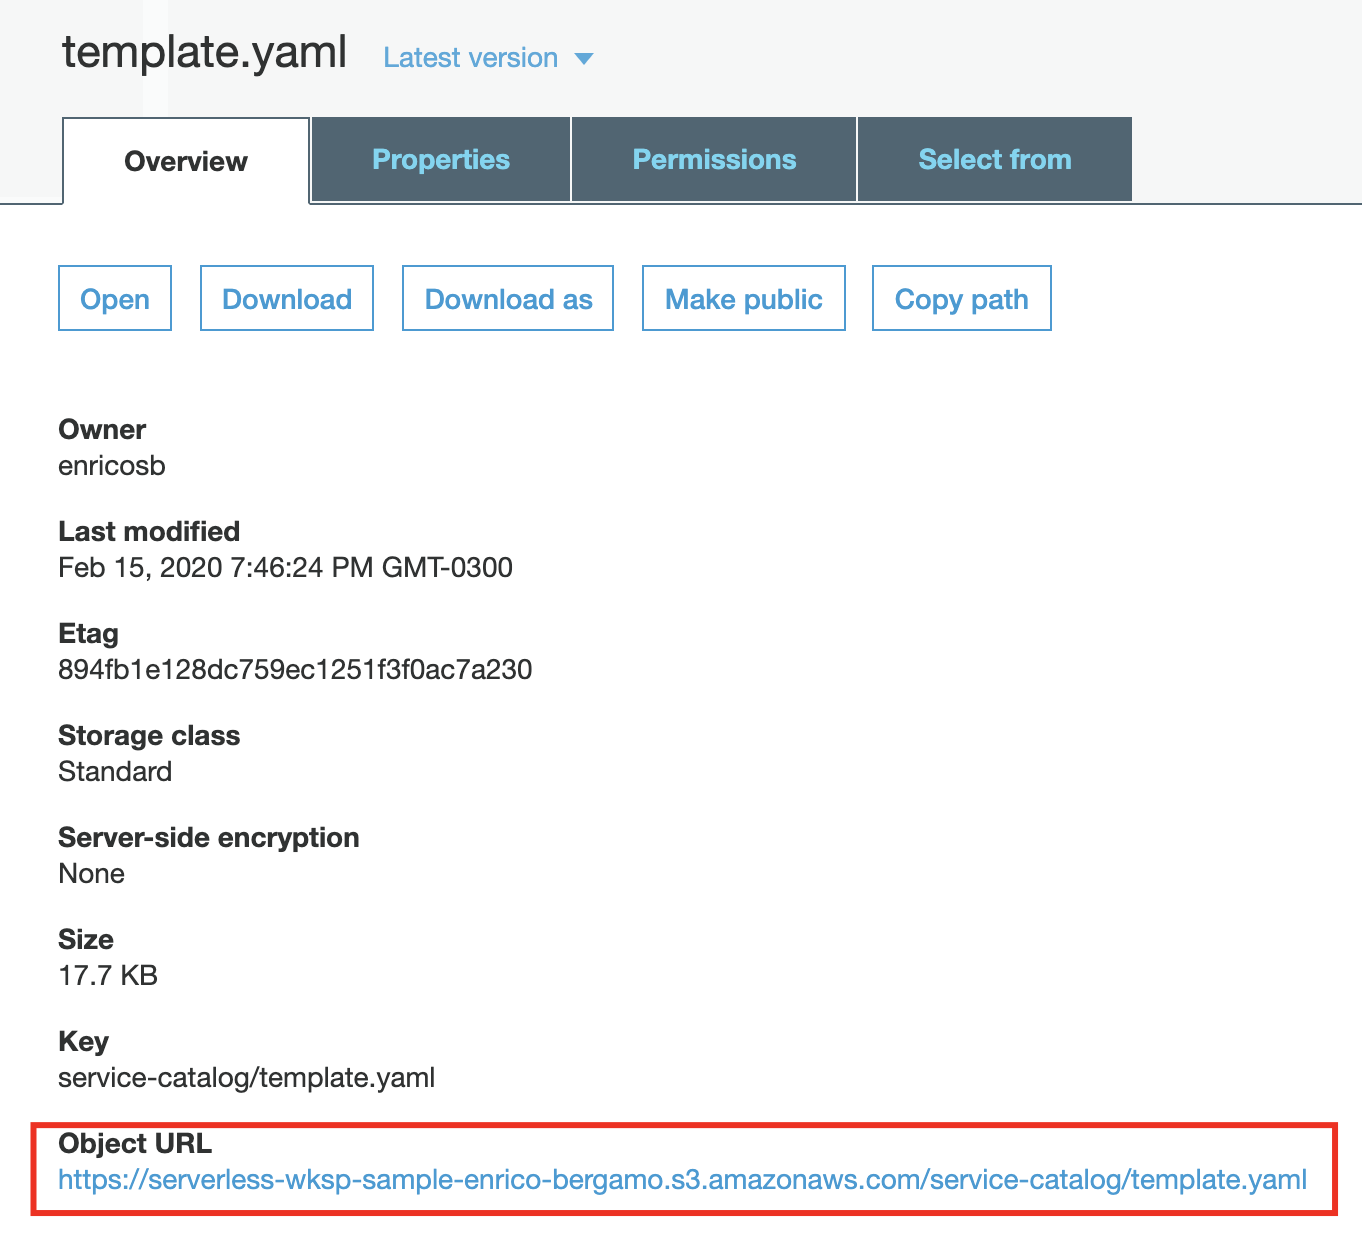
Go to your S3 console and confirm your upload has been completed successfully.
Copy the URL of your template.yaml file to a notepad. You’ll need it in the next step.